Tackling a simple electrical job at home can save you time and money, but safety always comes first. Swapping out a light switch is one of the most manageable DIY electrical fixes as long as the wiring is straightforward and the existing switch is in good condition. With careful prep, the right tools, and clear safety steps, most homeowners can handle this task without calling an electrician.
This guide covers everything you need to know before you start. You’ll get plain-language instructions, essential safety do’s and don’ts, and what to watch out for along the way. If you follow these steps closely and make safety your top priority, replacing a standard light switch can be a clear and stress-free project.
Before you even touch a screwdriver, it’s smart to think safety first. Working with home wiring means you’re dealing with real electrical risks that can harm you or your property. Many people feel tempted to “just be careful” and get to work. The truth is, skipping prep or rushing the steps can turn a simple switch replacement into a much bigger problem. These next steps help make sure you stay safe and confident from start to finish.
Electricity is silent and fast. Even a standard light switch connects to current that can shock, burn, or worse within seconds. Injuries most often happen because the power wasn’t shut off, or wires were mixed up by mistake. Keeping your safety top priority means treating every wire as if it’s live until you know otherwise.
Common risks when handling home wiring include:
Never begin electrical work with power still flowing. Locate your home’s main electrical panel and find the breaker marked for the room you’re working in. If breakers aren’t labeled, take a few minutes to test and label them before you start.
Here’s a quick checklist for shutting off power:
Just turning off the breaker isn’t enough. Sometimes, wiring isn’t labeled right, or power runs through odd routes. Always use a voltage tester — a cheap, handheld device every DIYer should own.
How to check safely:
Using a tester takes less than a minute and prevents surprises.
Take a moment to label the correct breaker clearly if it isn’t already. You can use masking tape and a marker or a printed label.
Labeling helps:
A simple table helps as a quick guide:
| Breaker Number | Room/Area | Note |
|---|---|---|
| 1 | Living Room | Includes front hall switch |
| 2 | Kitchen | All outlets + ceiling light |
| 3 | Bedroom 1 | North wall + closet |
| … | … | … |
If at any point you feel uncertain, stop and get help. Electrical work is not the time to guess or experiment. Here are signs it’s safer to call a licensed electrician:
Trust your instincts — if it feels wrong or overly complicated, let a pro handle it. Your safety is always more important than finishing the project yourself.
Before you unscrew a single plate, set yourself up for success with the right gear. Working with electrical parts requires a steady hand and the correct tools so mistakes are less likely to happen. The right setup not only makes the work easier but also helps avoid trips back to the hardware store or, worse, wiring mix-ups. This section lays out what you’ll need and how each tool fits into the job.
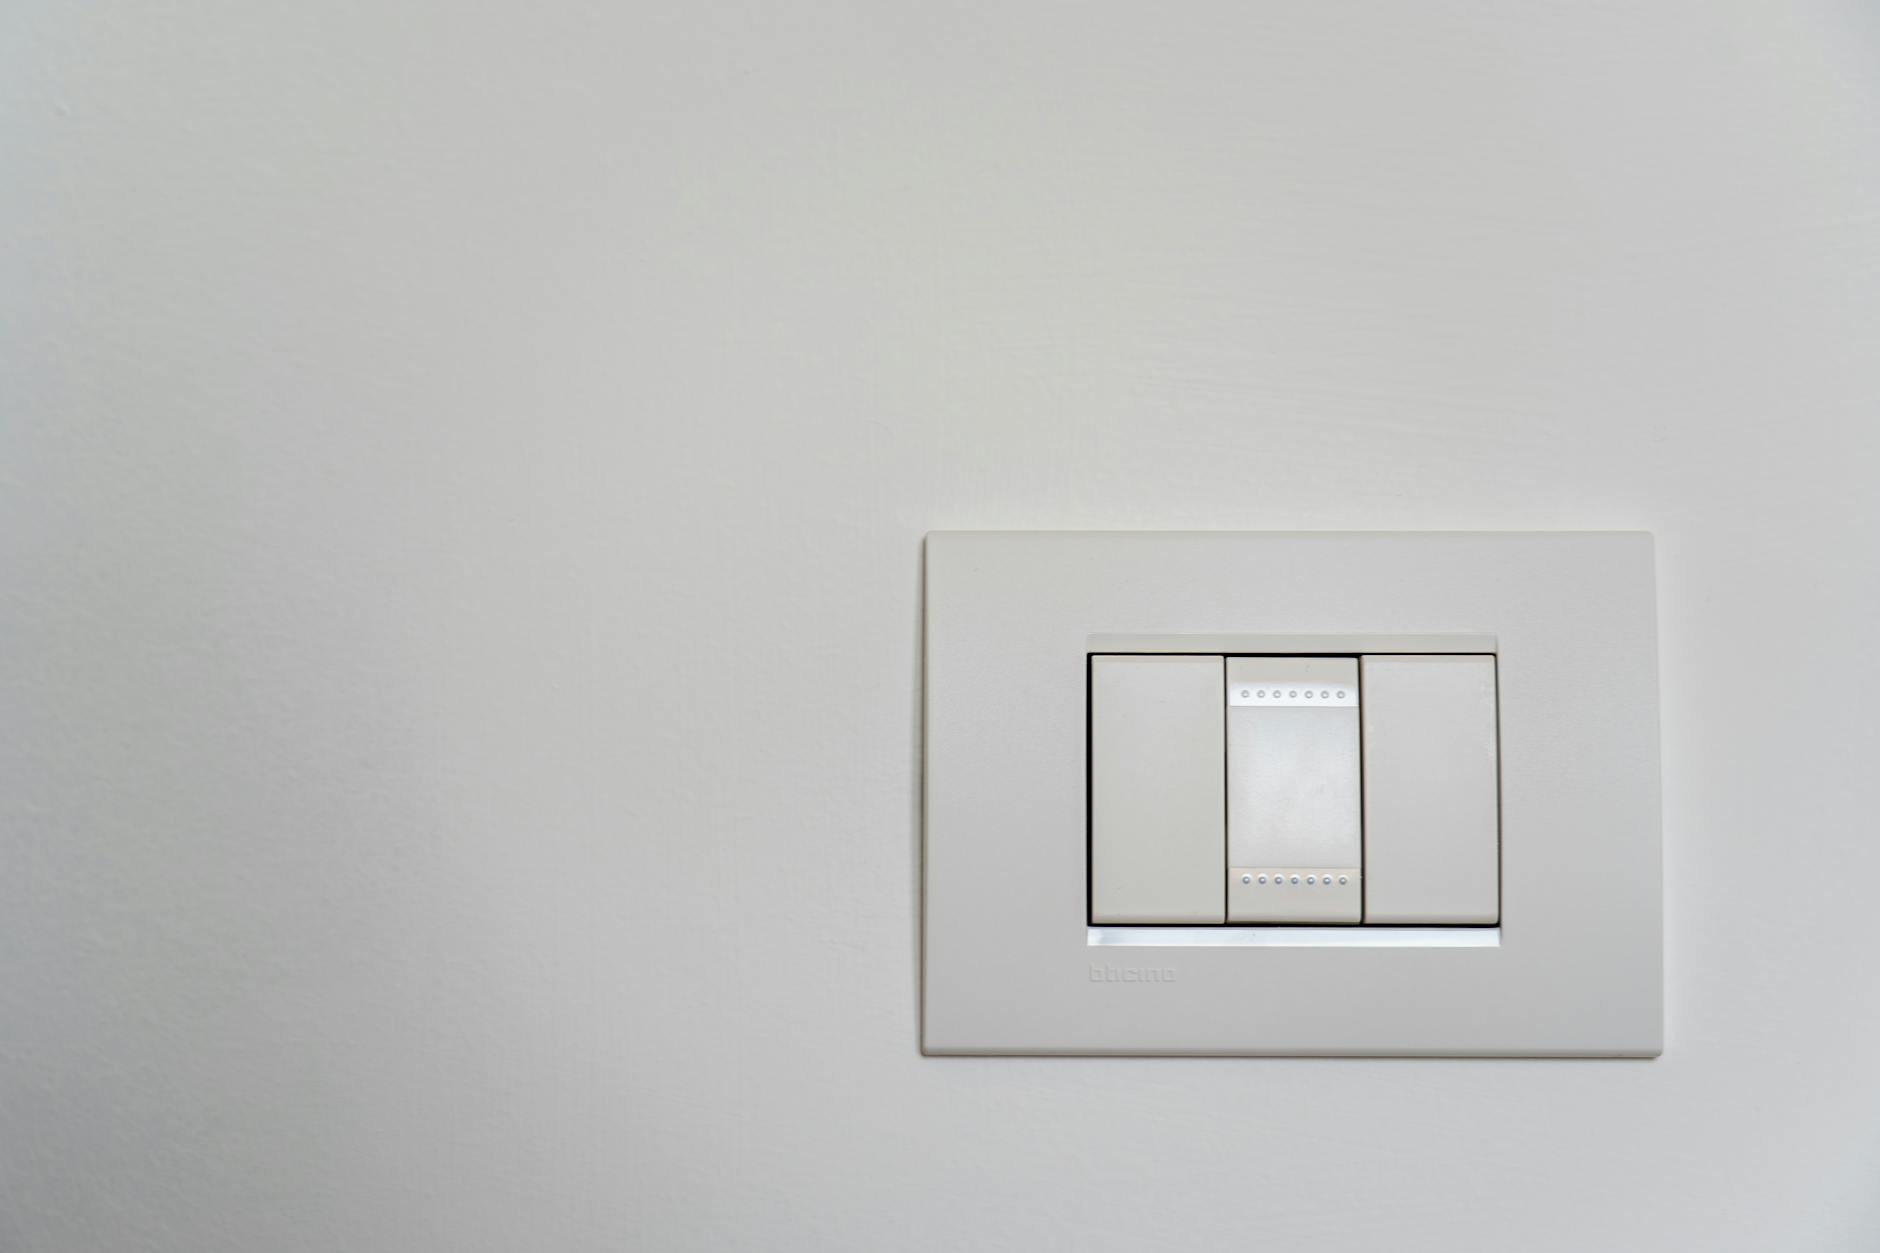
Photo by Castorly Stock
Every tool on this list plays an important role. Gather them before getting started to keep your workflow smooth.
Having each of these tools on hand lets you work with confidence. A table can make your shopping trip easier:
| Tool Name | Main Use |
|---|---|
| Flathead Screwdriver | Remove old plates, loosen older switch screws |
| Phillips Screwdriver | Install new switches and plates |
| Voltage Tester | Confirm power is off before touching wires |
| Wire Strippers | Remove insulation from wiring cleanly |
| Needle-Nose Pliers | Shape, bend, and guide wires into place |
| Wire Nuts | Securely join and cap wires |
| Electrical Tape | Cover and insulate connections |
You’ll also need fresh parts for a long-lasting repair:
A pack of wire nuts and a roll of good electrical tape are always handy to keep in your toolbox (often you’ll have extra from previous projects).
Not all switches are created equal. The type you need depends on the wiring already in place.
Check your old switch before shopping:
Pro tip: Match new switches to your old ones for easy, stress-free replacement. If you upgrade to a dimmer, make sure it’s compatible with your light bulbs (some LED bulbs need specific dimmers for flicker-free performance).
With these tools and materials ready to go, the next steps will move much more smoothly. Keep your gear organized for quick access and double-check you have the correct type of switch for your project.
Replacing a light switch by yourself can bring a real sense of accomplishment and save some money, but small mistakes can lead to safety issues or future repairs. Before you start, understanding the most common errors will help you work confidently and avoid setbacks. Pay close attention to each step and check your work as you go. Here’s how you can sidestep typical DIY hazards and get the job done right.
Many do-it-yourselfers learn these lessons the hard way. Knowing what to watch for lets you work not just smarter but safer. Here are the top mistakes, along with how to avoid them:
It sounds obvious, but this is the number one mistake. Forgetting to shut off the power at the main panel can result in shock, burns, or worse.
Wires can look confusing, especially inside older home switch boxes. Connecting the wrong wires will leave your switch not working, lights flickering, or could even cause a short.
A loose connection is a serious fire hazard and can cause lights to flicker, switches to feel hot, or complete failure.
Grabbing the wrong type of switch is a headache waiting to happen. If you install a three-way switch where a single-pole should go (or vice versa), nothing will work correctly.
A few more trouble spots pop up often:
Here’s a summary table for fast reminders:
| Mistake | How to Avoid |
|---|---|
| Leaving power on | Use breaker and voltage tester, add warning note |
| Mixing up wires | Take a photo, label wires before disconnecting |
| Loose wire connections | Tighten securely, check with a gentle pull |
| Wrong switch installed | Match type by terminals, read packaging |
| Ignoring safety checks | Test for power, use dry hands, right PPE |
Taking a few extra minutes to double-check your work, document wiring, and use the right tools can make all the difference. This not only protects you from accidents today but keeps your home safer for years to come.
Even with careful planning and attention to safety, some situations call for a professional touch. Replacing a basic light switch is straightforward; but once you spot certain warning signs or feel out of your element, it’s time to put your safety first and bring in a licensed electrician. This section breaks down how to spot these situations and why professional help is the right decision for tougher or risky electrical problems.
Photo by Markus Spiske
While working on your light switch, stay alert to anything that seems off. Here are some situations no homeowner should try to fix solo:
Trust your instincts: If it feels complex or unsafe, don’t “just figure it out.” Call for help right away.
Assess your comfort level honestly before continuing. Here’s a simple checklist to help you decide when a project has crossed from DIY-friendly into “call a pro” territory:
If you’re stuck on any of these points, don’t try to power through—stopping now prevents future headaches and helps protect your home.
Here’s a quick table to help you review the key signs that it’s time to stop and call in an expert:
| Situation | DIY? | Call a Pro? |
|---|---|---|
| Typical copper wiring, no damage | ✔️ | |
| Aluminum or unidentified wiring | ✔️ | |
| Melted, burnt, or blackened wires | ✔️ | |
| Switch/outlet with signs of water | ✔️ | |
| Multiple wires/colors, unclear layout | ✔️ | |
| Circuit keeps tripping | ✔️ | |
| Repairs involve entire circuit/fuse | ✔️ |
Electrical work isn’t guesswork. Trying to force or fudge repairs when you’re not sure can cost you more than the price of a service call. The risk includes not just a faulty switch but the chance of starting a fire, harming someone, or leaving your home out of code for future sales or insurance.
Whenever in doubt, get professional help. Electricians have the tools, training, and know-how to diagnose tough problems and keep your home safe. Your safety and peace of mind are always worth more than any quick DIY win.
Safety comes first every time you work with electricity. Double-check your setup at every stage and take your time to make sure each connection is secure and correct. If you’re ever unsure, calling a professional is always the right move.
Replacing a light switch yourself can feel rewarding and brings a boost of confidence if you stick to the basics and respect your own limits. Never let the urge to save a few bucks outweigh the need to keep yourself and your home safe.
If you run into anything odd, complex, or unexpected, don’t risk it. Contact a licensed electrician and rest easy knowing the job is done right. Thanks for reading, and feel free to share your experiences or tips in the comments to help others stay safe, too.